
Iron is one of the core resources in Whiteout Survival, and its importance increases quickly as your city develops. You need Iron for building upgrades, research, troop development, and other progression systems, so shortages can easily delay your next Furnace or technology upgrade.
Fortunately, you do not have to depend on a single source. The best approach is to combine Iron Mine production, world-map gathering, Daily Missions, alliance activity, events, and resource chests. With the right routine, even free-to-play players can maintain a much healthier Iron supply.
What Is Iron Used for in Whiteout Survival?
Iron is one of the standard city resources alongside Meat, Wood, and Coal. Its requirements become more noticeable as your Furnace and other important buildings reach higher levels.
You will commonly need Iron for:
- Furnace and building upgrades
- Research Center technologies
- Higher-tier troop development
- Various city progression requirements
- Some advanced late-game systems
Because Iron is consumed across several progression paths, it is better to maintain a reserve instead of waiting until an upgrade is ready before you start farming it.
Best Ways to Get Iron in Whiteout Survival
There are several reliable ways to obtain Iron. Some provide passive income, while others require marches, stamina, daily activity, or participation in events.
| Iron Source | Effort | Potential | Best Use |
|---|---|---|---|
| Iron Mine | Low | Steady | Passive production |
| Abandoned Smelters | Medium | High | Active farming |
| Daily Missions | Medium | Good | Consistent daily progress |
| Alliance Chests | Low | Good | Active alliance members |
| Beasts and Polar Terrors | Medium | Good | Using stamina efficiently |
| Events | Medium | High | Milestone rewards |
| Resource Chests | Low | Variable | Emergency reserves |
| Nomadic Merchant | Low | Variable | Balancing resources |
1. Upgrade Your Iron Mine
Your Iron Mine is the foundation of passive Iron production. Once unlocked, it generates Iron continuously as part of your city’s resource economy.
Keeping the building upgraded helps prevent passive production from falling too far behind your increasing upgrade costs. However, the Iron Mine should be treated as one part of your economy rather than your only source.
How to Improve Iron Mine Production
- Keep the Iron Mine reasonably close to your current progression level.
- Upgrade the required building components and furniture as you progress.
- Research technologies that improve resource output.
- Develop heroes that provide Iron production bonuses.
- Continue gathering externally instead of relying entirely on passive income.
Production is especially valuable for players who cannot keep gathering marches active throughout the day.
2. Gather Iron from Abandoned Smelters
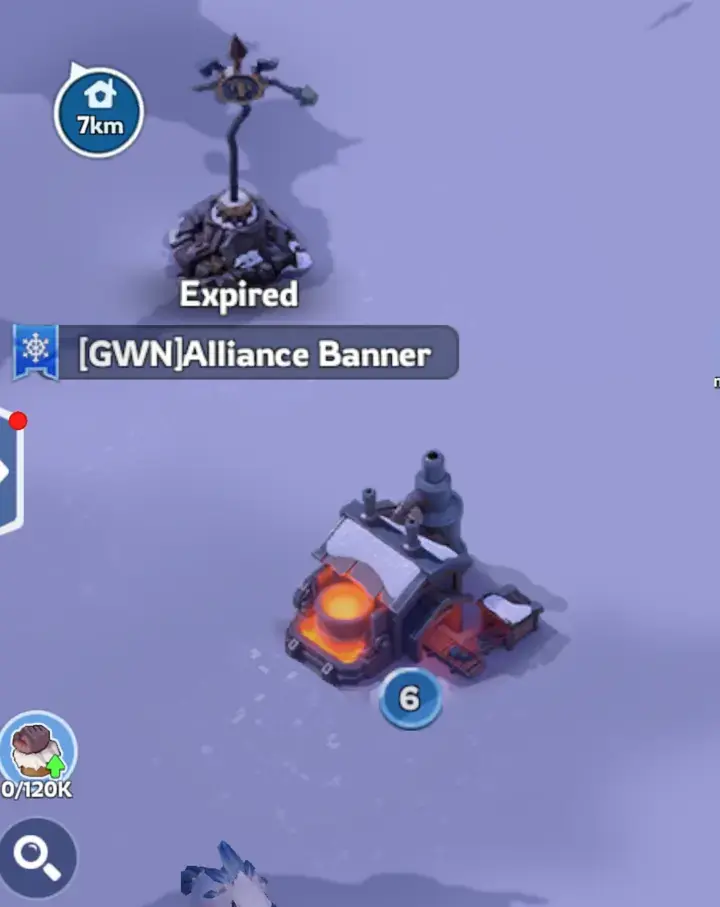
Abandoned Smelters are one of the best repeatable sources of Iron on the world map. When your marches are not needed for rallies or combat, sending them to gather resources converts otherwise unused march time into useful progression.
Higher-level resource nodes generally contain larger quantities of resources. Therefore, search for the best Abandoned Smelter your marches can reach efficiently.
Iron Gathering Tips
- Send idle marches to Abandoned Smelters.
- Gather before going offline for several hours.
- Use higher-level resource nodes whenever practical.
- Increase Iron gathering speed through research and hero bonuses.
- Take advantage of alliance-related gathering bonuses when available.
For active players, gathering can contribute far more Iron over time than leaving marches idle inside the city.
3. Use Smith for Iron Production and Gathering
Smith is particularly useful when you are focusing on Iron. His Growth skills improve both city Iron production and Iron gathering speed on the world map.
- Burnished Iron: increases City Iron Mine output.
- Craftsmanship: increases Iron gathering speed on the world map.
Depending on the skill level, these bonuses can reach 25%. This makes Smith one of the most useful Growth heroes when Iron is your current resource bottleneck.
For gathering, include Smith in the march you send to an Abandoned Smelter whenever possible.
4. Improve Iron Gathering Through Research
Your Research Center can permanently improve resource efficiency. Economy technologies include upgrades that affect both resource output and gathering speed, including Iron.
These bonuses may appear small at first, but permanent percentage improvements become increasingly useful as you gather millions of resources over the life of an account.
When Should You Research Iron Bonuses?
Do not ignore combat and general progression research just to maximize Iron. Instead, upgrade Iron-related Economy technologies when resource shortages are slowing your building or research plans.
This is particularly useful for active gatherers because gathering-speed research applies repeatedly every time you send a march to an Abandoned Smelter.
5. Join an Active Alliance and Open Alliance Chests
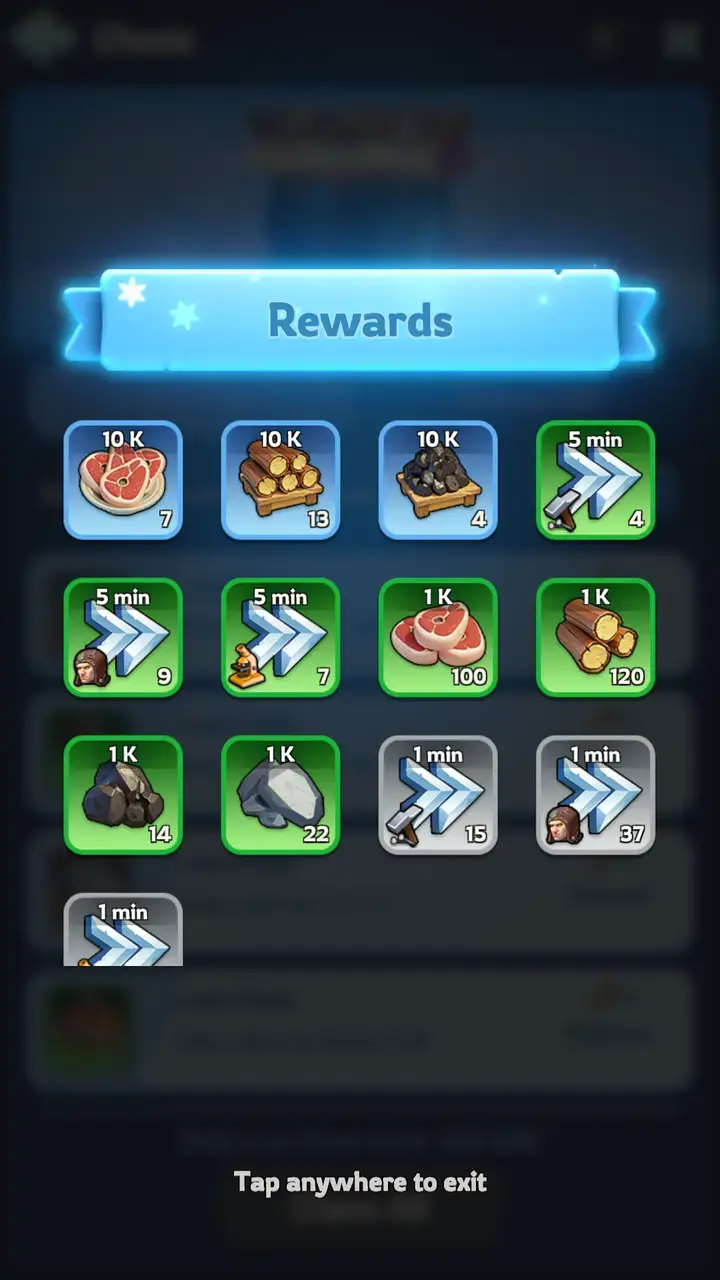
An active alliance improves your overall resource income in several ways. When alliance members regularly defeat Polar Terrors and participate in alliance activities, you gain more opportunities to claim chests and other shared rewards.
These rewards can include resources and useful progression items. As a result, simply moving from an inactive alliance to an active one can noticeably improve your long-term account efficiency.
Alliance Tips
- Join an alliance that regularly organizes Polar Terror rallies.
- Use your available stamina to support alliance rallies.
- Open earned Alliance Chests regularly.
- Participate in alliance events and milestone activities.
- Take advantage of alliance technologies and territory bonuses.
6. Defeat Beasts and Polar Terrors
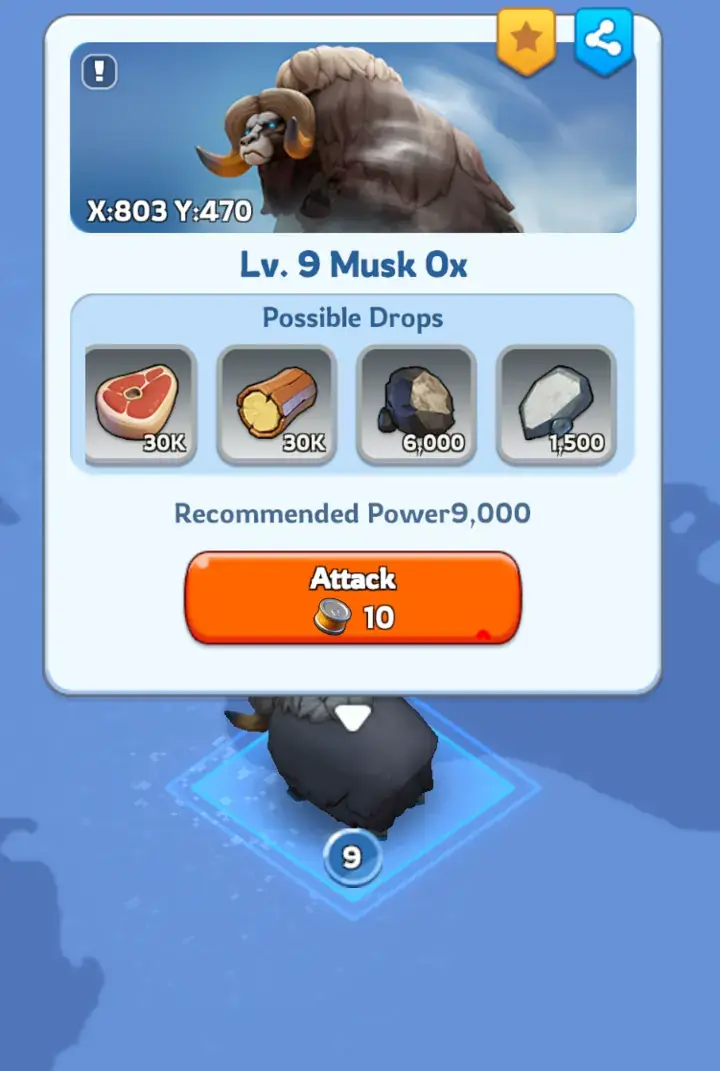
Beasts and Polar Terrors provide another recurring source of resources and progression rewards.
Beasts can be attacked independently, while Polar Terrors require alliance rallies. Polar Terror activity is especially valuable because it can contribute both direct rally rewards and alliance chest progression.
Use Your Stamina Efficiently
- Do not allow stamina to remain capped unnecessarily.
- Attack Beasts when no useful alliance rallies are available.
- Join Polar Terror rallies when your alliance is active.
- Choose targets appropriate for your current troop strength.
- Combine stamina spending with relevant event objectives whenever possible.
7. Complete Daily Missions
Daily Missions are one of the easiest ways to build a consistent resource routine. Many of the tasks involve activities you should already be doing, such as building, researching, gathering, training troops, or helping alliance members.
Rather than treating Daily Missions as optional tasks, use them as part of your normal progression cycle. Consistently claiming the available milestone chests gives your account a steady flow of resources and other useful items.
Daily Mission Routine
- Check your Daily Missions after the reset.
- Complete easy activities while managing your city.
- Use gathering, training, and alliance help to build activity progress.
- Claim completed milestone rewards before the next reset.
8. Participate in Events

Events can provide some of the best bursts of resources because they reward activities you may already be planning to complete.
Instead of immediately spending every speedup and resource you receive, consider saving part of your inventory for events that reward building, research, troop training, gathering, or other progression activities.
This creates a useful double benefit: you progress your city while also collecting event milestones.
Plan Iron Spending Around Events
If a major building or research upgrade requires a large amount of Iron, check current events before starting it. When the upgrade also contributes event points, the same resource expenditure can produce additional rewards.
This strategy becomes increasingly valuable in the mid and late game, when upgrade costs become much larger.
9. Save Custom Resource Chests Until You Need Iron
Custom Resource Chests are valuable because they give you flexibility. Instead of converting every chest into Iron immediately, keep unopened chests in your inventory until you know which resource is blocking your progression.
For example, if you are preparing an expensive Furnace or research upgrade and Iron is the only resource you lack, that is a much better time to convert your Custom Resource Chests.
10. Send Pets on Adventures
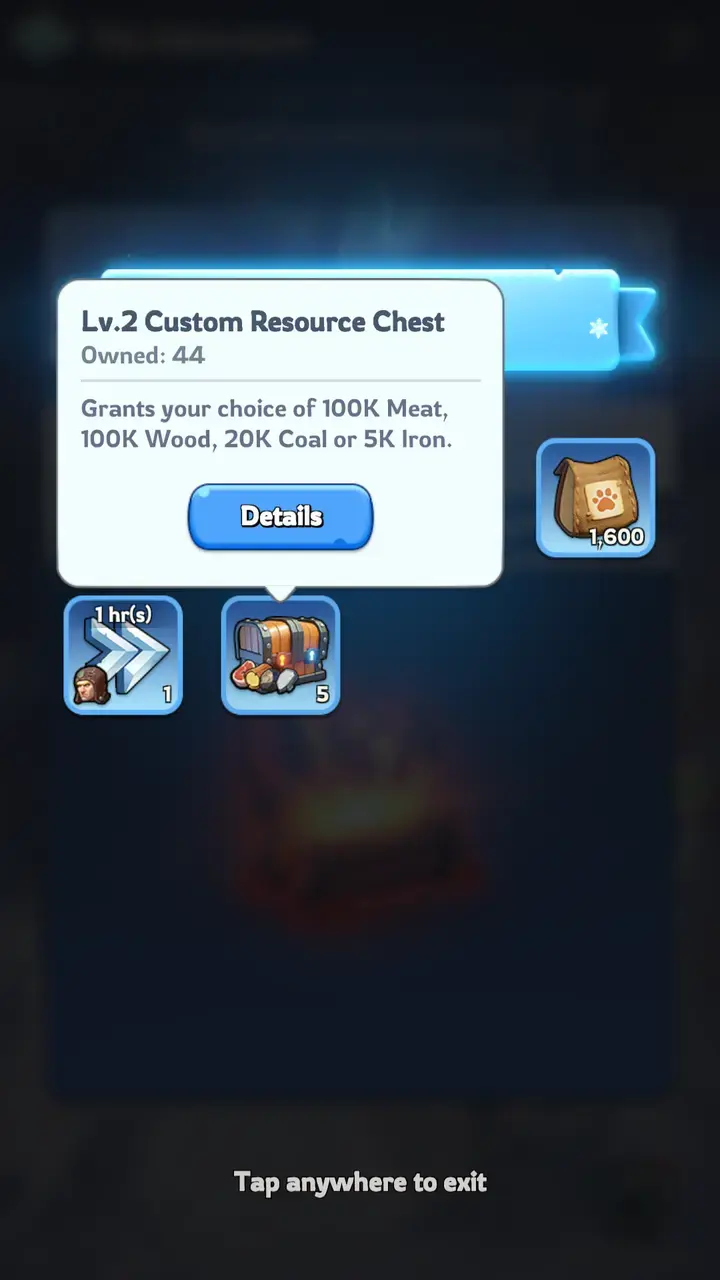
Pet Adventures can provide additional chests and progression items. Some rewards can indirectly help your Iron supply through resource chests.
Pet Adventures should not replace your main Iron farming methods. However, because they can be completed alongside normal city activities, they provide useful extra value over time.
- Send available pets on adventures regularly.
- Claim completed adventure rewards.
- Keep selectable resource rewards until you have a clear need.
- Combine Pet Adventure income with gathering and Daily Missions.
11. Check the Nomadic Merchant

The Nomadic Merchant can help when your resource balance becomes uneven. Available offers can allow you to exchange surplus resources or other currencies for items you currently need.
If you have far more Meat or Wood than Iron, for example, a useful merchant exchange may help solve a short-term Iron bottleneck without consuming valuable resource chests.
Nomadic Merchant Tips
- Check available offers regularly.
- Prioritize favorable exchanges involving surplus resources.
- Avoid unnecessary refreshes simply to search for Iron.
- Think about your next major upgrade before making trades.
12. Use the VIP Shop Only When It Makes Sense
The VIP Shop can provide another way to obtain resources when you are slightly short of an upgrade requirement.
However, gems have many competing uses. Buying basic resources regularly is usually less efficient than gathering, completing events, using resource chests, or earning rewards through normal gameplay.
Consider the VIP Shop an emergency option rather than your primary Iron farming method.
13. Consider In-Game Resource Packs Carefully
Paid packs can contain Iron alongside speedups and other materials. They provide immediate resources, but Iron itself can be obtained through normal gameplay.
If you spend money in Whiteout Survival, compare the overall value of a pack rather than buying something only because it contains Iron. Resources that can be gathered repeatedly are generally less scarce than specialized progression items.
Resource farming is only one part of long-term progression. Players comparing different progression options can also browse a wos account for sale to see how developed accounts differ in Furnace level, heroes, resources, and overall progression.
How to Increase Iron Gathering Speed
Finding more Abandoned Smelters helps, but gathering faster is equally important. Faster gathering allows the same march to complete more trips over a given period.
You can improve resource gathering efficiency through several systems:
- Smith: improves Iron gathering speed through his Growth skill.
- Economy Research: unlock and upgrade Iron gathering technologies.
- Alliance bonuses: use applicable alliance technologies and territory benefits.
- Gathering boosts: activate temporary bonuses when you plan an extended farming session.
- March management: keep marches gathering instead of sitting unused.
Best Time to Send Gathering Marches
One of the easiest habits is sending long gathering marches before logging off. During active play, you may need marches for Beasts, Polar Terror rallies, facilities, or PvP activities. When you know you will be offline, gathering lets those marches continue generating value.
Best Iron Strategy for Beginners
New players do not need complicated Iron farming strategies. Instead, build a routine around predictable sources.
- Build and upgrade your Iron Mine as your city develops.
- Complete your Daily Missions.
- Send unused marches to Abandoned Smelters.
- Join an active alliance.
- Participate in achievable event milestones.
- Develop Smith for Iron-related bonuses.
- Save Custom Resource Chests for actual shortages.
This approach gives you a strong Iron foundation without relying heavily on gems or paid resources.
Best Iron Strategy for Mid-Game Players
Once upgrade requirements become larger, passive production alone becomes less capable of covering your costs. At this stage, efficiency and planning matter more.
Try to combine several activities:
- Keep gathering marches active whenever possible.
- Improve Economy Research related to resources.
- Use Smith when gathering Iron.
- Participate consistently in alliance rallies.
- Save flexible resource chests.
- Time expensive upgrades around useful events.
Most importantly, avoid converting every resource chest as soon as you receive it. Mid-game progression can change your resource bottleneck quickly.
Iron Management in the Late Game
Iron remains relevant beyond normal early and mid-game city upgrades. Later progression introduces additional systems where your standard resource economy still matters.
For example, the Crystal Laboratory can use standard resources, including Iron, as part of exchanges related to Fire Crystal progression. This gives late-game players another reason not to completely neglect their basic resource economy after reaching higher Furnace levels.
Therefore, continue gathering and maintaining production bonuses even when basic building upgrades are no longer your only priority.
Common Iron Farming Mistakes
Iron shortages are often caused by inefficient resource management rather than a lack of available sources.
Leaving Marches Idle
If you are not fighting, rallying, or capturing objectives, an unused march could usually be gathering a resource.
Ignoring Smith
Smith provides bonuses specifically related to Iron production and gathering. Ignoring those Growth skills means missing permanent efficiency improvements.
Opening Every Resource Chest Immediately
Selectable resource chests are most valuable while they remain flexible. Convert them only when you know which resource you need.
Spending Gems on Resources Too Often
Iron can be farmed repeatedly through normal gameplay. Consider whether gathering or waiting for another reward would be more efficient before spending premium currency.
Ignoring Economy Research
Gathering and production bonuses compound over time. Players who gather frequently gain significant long-term value from permanent research improvements.
Using Large Amounts of Iron Outside Events
Not every upgrade should be delayed, but major spending can sometimes be timed with events that reward the same activity. Check current events before committing a large amount of resources.
FAQ
What is the fastest way to get Iron in Whiteout Survival?
For free-to-play players, the fastest practical approach is to combine Abandoned Smelter gathering, Daily Missions, events, alliance rewards, and Custom Resource Chests. No single source is always best, so combining several methods produces more consistent results.
Where can I gather Iron in Whiteout Survival?
Iron can be gathered from Abandoned Smelters located on the world map. Higher-level resource nodes generally provide larger resource quantities.
Which hero is best for gathering Iron?
Smith is the main Growth hero associated with Iron. His Craftsmanship skill improves Iron gathering speed, while Burnished Iron increases City Iron Mine output.
How can I increase Iron production?
Upgrade your Iron Mine, develop Smith’s Iron production skill, and invest in Economy Research that increases resource output. Maintaining several bonuses together is more effective than relying on the Iron Mine level alone.
Should I spend gems to buy Iron?
Usually, Iron is better obtained through gathering, Daily Missions, events, alliance rewards, and resource chests. Buying Iron with gems can make sense when you are only slightly short of an important upgrade, but it should not be your normal farming method.
Why do I keep running out of Iron?
Common causes include leaving marches idle, underdeveloped gathering bonuses, opening resource chests too early, completing too few events or Daily Missions, and spending large amounts of Iron without planning upcoming upgrades.
Is Iron still useful in late-game Whiteout Survival?
Yes. Iron continues to support advanced progression, and standard resources can remain relevant to later systems such as Crystal Laboratory exchanges. Maintaining good Iron production and gathering habits remains useful beyond the early game.
Conclusion
Learning how to get Iron in Whiteout Survival is mostly about combining several reliable sources instead of searching for one shortcut. Upgrade your Iron Mine, gather from Abandoned Smelters, use Smith’s Growth skills, improve Economy Research, complete Daily Missions, stay active in your alliance, and take advantage of event rewards.
At the same time, manage flexible resource chests carefully and avoid spending premium currency on Iron unless there is a clear reason. These habits make it much easier to maintain enough resources for buildings, research, troop progression, and later-game systems.
For more progression strategies, event explanations, hero information, and gameplay tips, explore our Whiteout Survival guides.
Whiteout Survival systems, events, rewards, and shop offers may change through future game updates. Always check current in-game values when planning major resource spending.