
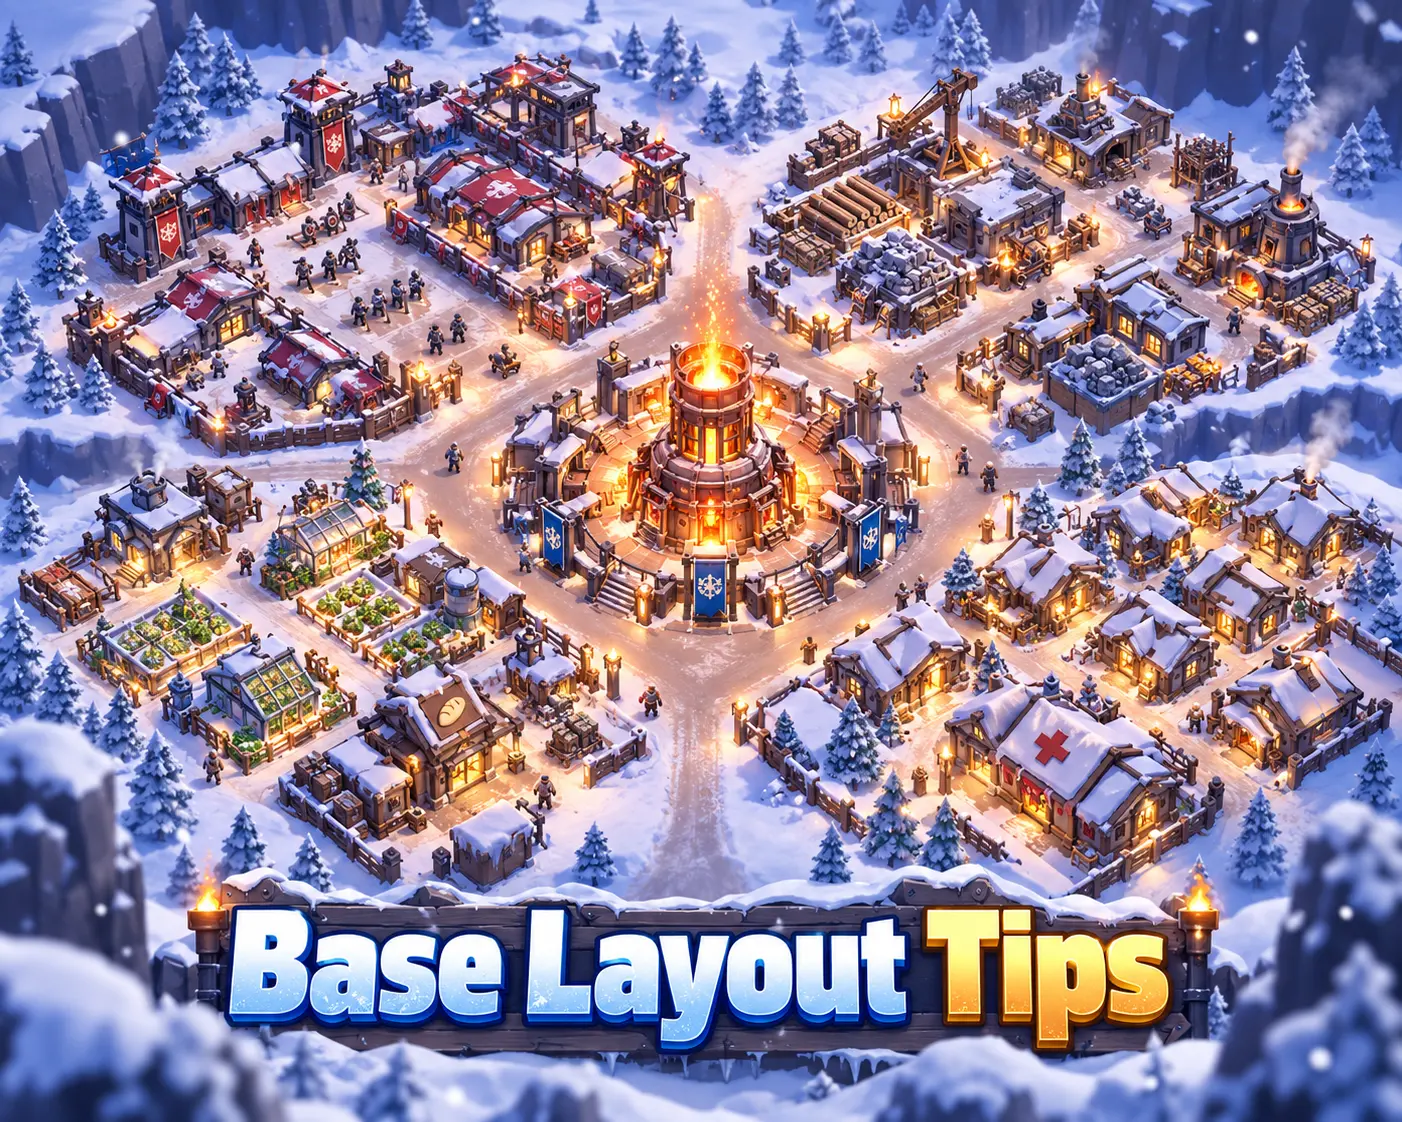
There is no Whiteout Survival base layout that gives your city extra combat, heat, or resource-production bonuses just because certain buildings are placed next to each other. Your inner-city layout is mainly about organization and convenience.
The best practical setup is therefore one that makes frequently used buildings easy to find: keep the Furnace prominent, group troop and combat buildings together, place production buildings in another section, and keep Survivor-management buildings together.
For actual progression and defense, building levels, research, troops, Heroes, Storehouse protection, Infirmary capacity, alliance reinforcements, shields, and your city’s world-map location matter much more than the visual arrangement inside your settlement.
Use your Whiteout Survival base layout for navigation, not defense. A central Furnace, military zone, production zone, and Survivor zone make the city easier to manage, but moving the Storehouse behind another building or creating a ring of troop camps does not give extra protection.
Does Base Layout Matter in Whiteout Survival?
Building placement inside the settlement matters primarily for visual organization.
Whiteout Survival does not use a tower-defense system in which attacking troops travel down player-created paths between city buildings. An enemy Chief also does not choose which individual inner-city structure to attack first based on where you placed it.
That means you do not need to:
- Surround the Furnace with military buildings.
- Hide the Storehouse behind larger structures.
- Place the Infirmary inside a defensive ring.
- Build walls or traps around important structures.
- Put resource buildings beside the Furnace.
- Create narrow lanes for enemy troops.
The actual effects of buildings come from their levels, associated systems, research, furniture where applicable, and other listed bonuses—not from their position relative to neighboring buildings.
Does the Furnace Have a Placement-Based Heat Radius?
The Furnace produces the heat that keeps Survivors warm and becomes increasingly important during cold conditions and blizzards. Upgrading it increases the amount of heat it produces.
However, the game’s building documentation does not require Shelters or workplaces to be positioned within a special Furnace radius to receive that benefit. Moving a Shelter farther across the settlement does not create a separate unheated district.
You can therefore keep the Furnace in the middle for appearance and convenience without treating that placement as a gameplay requirement.
Best Whiteout Survival Base Layout
Because there is no stat-based “meta” layout, the best setup is an organized city layout that reduces unnecessary scrolling and makes important queues easier to check.
Zone 1: Furnace and Main Progression Buildings
Keep the Furnace in an obvious location, then place frequently checked progression buildings nearby.
A useful group can include:
- Furnace
- Research Center
- Embassy
- Command Center
This does not create a bonus. It simply keeps major progression and alliance-related buildings easy to access.
Zone 2: Military Buildings
Group your troop and combat-management buildings together:
This makes it easier to check troop training, promotions, wounded troops, and military upgrades from one area.
Zone 3: Production Buildings
The four main production buildings are:
- Hunter’s Hut: Meat
- Sawmill: Wood
- Coal Mine: Coal
- Iron Mine: Iron
Keeping these buildings together makes the settlement visually cleaner and Survivor assignments easier to review.
Grouping them does not increase production. Their output comes from their actual development and applicable bonuses.
Zone 4: Survivor Welfare Buildings
A separate Survivor-management area can contain:
This is useful because these buildings deal with Survivor housing, food, health, welfare, and Chief Orders.
Remember that the Clinic and Infirmary serve different purposes. The Clinic treats sick Survivors, while the Infirmary handles troops wounded in combat.
Think in four simple zones: progression, military, production, and Survivor welfare. Keep the buildings you tap most frequently visible and leave enough open visual space to select them easily. This is more useful than trying to copy a decorative “defensive” pattern.
What Actually Makes a Whiteout Survival Base Strong?
A strong city comes from progression systems rather than the way buildings look from above.
| System | Why It Matters | Does Inner-City Placement Matter? |
|---|---|---|
| Furnace | Controls major city progression and building level limits | No |
| Research | Provides permanent Growth, Economy, and Battle improvements | No |
| Troop Camps | Unlock and train stronger troop tiers | No |
| Infirmary | Determines how many wounded troops can be treated | No |
| Storehouse | Protects a limited amount of resources from plunder | No |
| Embassy | Controls reinforcement capacity and Alliance Help | No |
| Command Center | Improves rally and troop deployment capacity | No |
| Barricade | Improves city-defense durability | No |
| Alliance Territory | Can provide applicable territory bonuses | World-map location matters |
| Protection Shield | Protects the city from hostile attacks and scouting while active | No |
Best Buildings to Upgrade First
Your upgrade priorities matter far more than your base layout.
1. Furnace and Its Required Prerequisites
The Furnace is the primary progression gate. Its level controls how far many other buildings can develop and when additional systems become available.
Before starting a long upgrade, check what the next Furnace level requires. Different levels can require progress in buildings such as the Embassy, Research Center, or one of the troop camps.
This lets you prepare the prerequisite before your construction queue becomes blocked.
2. Embassy
The Embassy is especially important for players in active alliances.
Upgrading it increases:
- Reinforcement capacity
- The number of Alliance Helps available for construction, research, and healing
- Building Power
The Embassy also appears frequently in Furnace progression requirements, giving it value for both growth and defense.
3. Research Center
Research gives permanent bonuses across the account.
The three broad areas are:
- Growth: City and army development
- Economy: Production and resource gathering
- Battle: Troop and march performance
Keep your research queue active as consistently as possible. Which branch deserves priority depends on whether your current bottleneck is faster development, resources, or combat.
4. Infantry, Lancer, and Marksman Camps
Higher camp levels unlock stronger troop tiers and support overall military progression.
Do not permanently neglect one troop class simply because your current favorite Hero uses another class. Whiteout Survival combat relies on mixed troop formations, and different Furnace levels also require different camps as prerequisites.
5. Infirmary
The Infirmary determines how many wounded troops it can hold and heal.
Capacity becomes especially important during PvP. If the Infirmary is full, additional severely injured troops can become losses. The Enlistment Office can recover part of eligible overflow casualties under its own rules, but that is not a reason to ignore Infirmary capacity.
Ward Expansion research can further increase Infirmary capacity.
6. Command Center
The Command Center increases the number of troops you can include in rallies you start and improves deployment capacity.
This becomes increasingly valuable for:
- Polar Terror
- Bear Hunt rally leadership
- Fortress and Stronghold rallies
- Offensive PvP
- Alliance battle events
7. Storehouse
The Storehouse protects a limited quantity of resources from being plundered during attacks.
Its effectiveness comes from its protection capacity—not from where you place the building inside your settlement.
A useful resource-management habit is to avoid converting more Backpack resource items into exposed city resources than you currently need for construction, research, troop training, or healing.
8. Survivor and Production Buildings
Do not abandon Shelters, resource production, the Cookhouse, or Clinic. Survivor health and productivity are still part of early city development.
However, these buildings should be upgraded according to actual progression requirements and Survivor needs rather than because they occupy a supposedly important position in your layout.
9. Barricade
The Barricade improves the durability of your city’s defense.
It is a real defensive building, but it is not a physical wall-placement system. You cannot draw a defensive perimeter around the Furnace with Barricade sections.
Upgrade the building itself when its development is useful; moving its visual location does not change the durability it provides.
Inner-City Layout vs World-Map Position
This distinction is one of the most important parts of Whiteout Survival base planning.
Inner-city building placement is mainly organizational. World-map positioning can have genuine strategic consequences.
Do not spend time designing an internal “fortress” while ignoring where your city sits on the state map. Alliance Territory, nearby allies, rally travel distance, reinforcements, objectives, and shields have real strategic value. Internal building adjacency does not provide the same benefit.
Move Into Alliance Territory
If your alliance leadership gives you a designated hive or territory location, move there when practical.
Cities positioned within Alliance Territory can receive the applicable territory bonus stats. Staying with your alliance also makes coordination easier.
Stay Close to Alliance Members
Shorter map distances can make it faster for allies to reinforce your city and easier to join rallies or respond to alliance objectives.
During major events, alliances may use a specific city formation around a Fortress, Stronghold, Sunfire Castle, or another strategic location. In those situations, follow leadership instructions rather than choosing a map position purely for appearance.
Some World-Map Effects Use Distance
Certain special city-skin or Domain effects can use world-map tile ranges. When such an effect is active, the relevant item description determines its range and bonuses.
This is a world-map positioning mechanic, not an inner-city building-layout bonus.
How to Make Your City Harder to Attack
If your goal is defense, rearranging buildings is one of the least important things you can do.
Keep the Infirmary Ready
Heal existing wounded troops before major PvP when possible. A nearly full Infirmary leaves less capacity for the next battle.
Upgrade the Embassy
A larger Embassy allows more alliance reinforcements to defend your city.
Century Games support specifically recommends alliance reinforcements as one response when another Chief is attacking you.
Protect Your Resources
Upgrade the Storehouse and avoid keeping unnecessary plunderable resources exposed.
The Storehouse’s location on your city screen has no effect on its protection limit.
Use a Protection Shield
Protection Shields can stop hostile attacks and scouting while active.
Remember that sending troops to attack while shielded can remove the shield and trigger a cooldown before another one can be activated, so do not accidentally break protection when you intend to remain safe.
Follow Your Alliance’s Defensive Plan
During major combat, alliance leadership may ask players to:
- Shield
- Reinforce another city
- Teleport
- Empty or protect exposed resources
- Garrison an objective
- Join a rally
Those decisions have far more influence on survival than the location of your Furnace or Storehouse inside the settlement.
Best Base Strategy for F2P Players
F2P players should prioritize progression efficiency instead of cosmetic optimization.
A useful approach is:
- Push the Furnace while preparing its next prerequisites.
- Keep Research running whenever possible.
- Maintain the Embassy to maximize Alliance Help.
- Keep all three troop camps progressing.
- Maintain enough Infirmary capacity for the amount of PvP you do.
- Protect resources instead of opening large Backpack reserves early.
- Stay inside an active alliance’s territory.
- Use shields when you cannot safely defend the city.
This provides more real value than spending time repeatedly rearranging the settlement in search of a nonexistent defensive pattern.
What About Advanced and Competitive Players?
For developed accounts, the same principle remains true. Strong city defense comes from the account behind the city rather than its internal design.
Important systems include:
- Hero generations and star levels
- Chief Gear
- Chief Charms
- Hero Gear
- Exclusive Hero Gear
- Research
- Fire Crystal progression
- Troop tiers and quantity
- Pets and other permanent combat systems
- Alliance technology and territory bonuses
- Reinforcement strength
If you are comparing how mature cities differ in progression, a wos account for sale can also be viewed as an optional reference or progression route. Compare actual Heroes, research, troops, Chief Gear, Charms, state, and transfer eligibility rather than judging the account by how its inner city is arranged.
Common Whiteout Survival Base Layout Myths
The Furnace Must Be in the Exact Center
No. Centering the Furnace can make the settlement look clean and keep your most important building visible, but its position does not provide a documented heat or defensive multiplier.
Buildings Near the Furnace Stay Warmer
Furnace progression controls settlement heat. The official building system does not require you to arrange Shelters and workplaces within an internal heat radius.
Resource Buildings Produce More When Grouped Together
No. Grouping Hunter’s Huts, Sawmills, Coal Mines, and Iron Mines is useful for organization only.
The Storehouse Should Be Hidden
Hiding it behind another building does not protect additional resources. Protection comes from the Storehouse’s actual capacity.
Troop Camps Can Form a Defensive Wall
No. Infantry, Lancer, and Marksman Camps do not physically block hostile troops from reaching the Furnace during an enemy city attack.
You Need Watchtowers and Traps at Entry Points
Whiteout Survival does not provide a player-designed tower-defense path inside the city where attackers must walk through manually positioned towers or traps.
Moving a Building Can Reduce Its Stats
Reorganizing the settlement does not change the building’s upgraded level or documented effect. Placement is primarily a city-management choice.
The Barricade Must Surround Important Buildings
The Barricade is a building with its own defensive durability progression. It is not a set of wall sections that you manually position around other structures.
FAQs
What is the best base layout in Whiteout Survival?
There is no single internal layout that provides superior combat stats. A practical setup is to separate the settlement into progression, military, production, and Survivor-management zones so important buildings are easy to find.
Does building placement matter in Whiteout Survival?
Inner-city placement is primarily organizational. Building effects such as Storehouse protection, Embassy reinforcement capacity, and Barricade durability depend on their systems and upgrades rather than adjacency to other buildings.
Does the Furnace need to be in the center?
No. Placing the Furnace centrally is convenient and visually appealing, but it is not required for its documented settlement-heating or progression functions.
What buildings should I upgrade first?
Prioritize the Furnace and whatever prerequisites its next level requires. The Embassy, Research Center, troop camps, Infirmary, Command Center, and Storehouse are also important depending on your current account stage and goals.
How can I make my Whiteout Survival base harder to attack?
Improve troops, Heroes, research, Infirmary capacity, Embassy reinforcement capacity, Storehouse protection, and permanent combat systems. Stay near your alliance and use a Protection Shield when appropriate. Rearranging inner-city buildings does not create a defensive wall.
Where should I place my city on the world map?
For most players, the best location is the position assigned by an active alliance inside its territory. This provides applicable territory bonuses and keeps you close to alliance members, rallies, reinforcements, and strategic objectives.
Conclusion
The best Whiteout Survival base layout is a city that is easy to manage, not one arranged like a defensive maze. Keep frequently used progression buildings visible, group military and production structures logically, and organize Survivor buildings however you find convenient.
For real progress and defense, focus on Furnace prerequisites, research, troop camps, Infirmary capacity, Storehouse protection, Embassy reinforcements, shields, and strategic world-map positioning. For more city, combat, Hero, and progression advice, explore our Whiteout Survival guides.