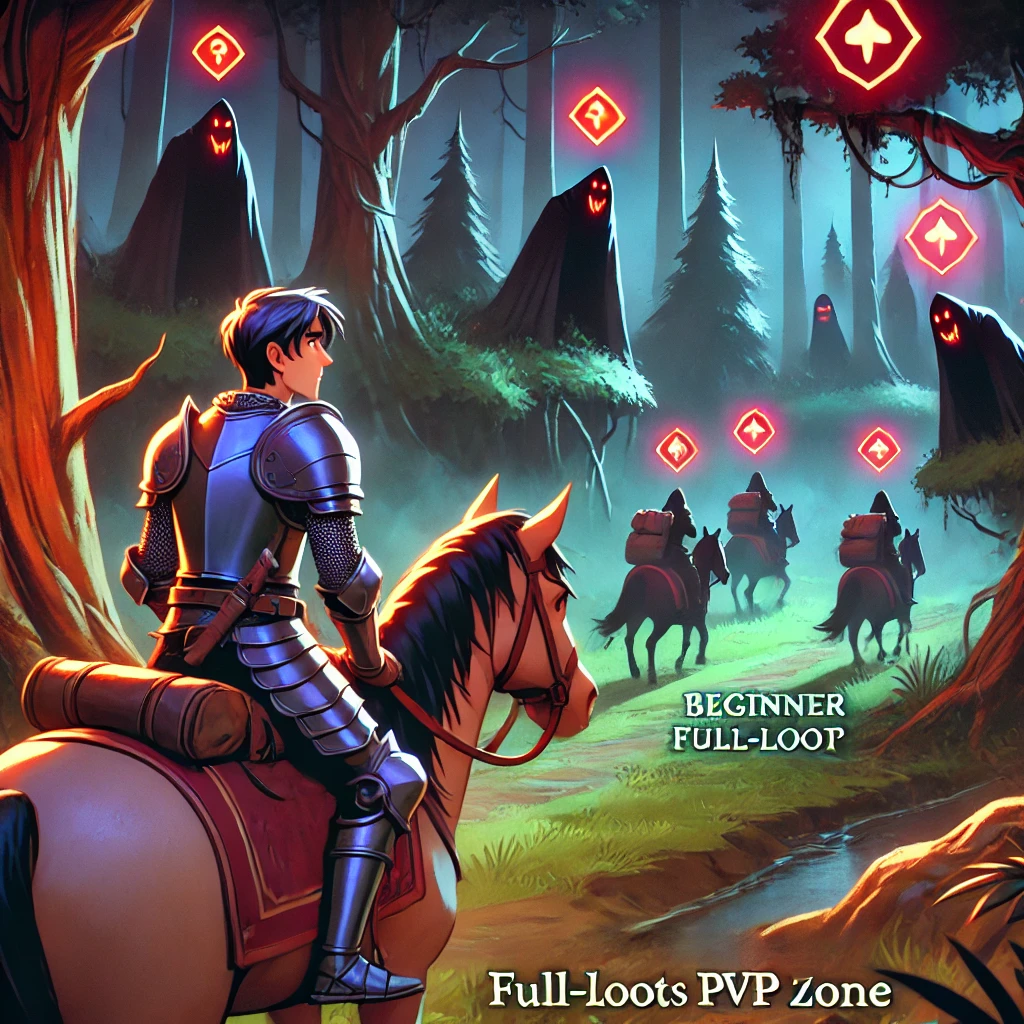
Entering Albion Online full-loot PvP zones can feel intimidating when one mistake may cost your equipment and everything in your inventory. However, Red and Black Zones are not areas you need to avoid permanently.
With affordable gear, careful route planning, map awareness, and a reliable escape strategy, beginners can gradually explore lethal zones without risking their entire silver balance.
This guide explains how full-loot PvP works, how Red and Black Zones differ, what equipment to bring, how to identify possible gankers, and what to do when another player begins chasing you.
Never enter a lethal zone with equipment you cannot replace. Use an affordable and mobile set, keep your mount close, learn the exits before beginning an activity, and return to the bank before your carried loot becomes more valuable than you are willing to lose.
What Are Full-Loot PvP Zones in Albion Online?
A full-loot PvP zone is an area where another player can kill you and take the equipment and items you were carrying. This includes your equipped weapon, armor, cape, bag, mount, consumables, resources, and most tradable inventory items.
You do not lose your character, Destiny Board progress, unlocked specialization, personal silver balance, or account progression. Some dropped items may also be destroyed rather than becoming available as loot.
Albion Online’s lethal-zone system supports its player-driven economy. Equipment is constantly crafted, transported, used, lost, looted, and replaced.
This makes equipment function more like a consumable resource than a permanent possession.
Beginner rule: Before entering a Red or Black Zone, ask yourself whether you can comfortably purchase the same equipment set several more times. If losing it once would stop your progression, the set is too expensive for that activity.
Albion Online Zone Types and Loot Rules
The color of a zone determines its general PvP and item-loss rules. Understanding these differences is essential before leaving the safer Royal Continent areas.
| Zone | PvP Rules | Death Penalty | Recommended Experience |
|---|---|---|---|
| Blue Zone | Standard open-world combat is safe | No full-loot equipment loss | New players |
| Yellow Zone | Non-lethal PvP and knockdowns | Durability loss, but equipment is retained | Beginners learning PvP awareness |
| Red Zone | Hostile players must flag before attacking | Full-loot equipment and inventory loss | Players beginning lethal content |
| Black Zone | Full-loot PvP without hostile flagging | Full-loot equipment and inventory loss | Prepared players using replaceable sets |
Are Yellow Zones Full-Loot?
Yellow Zones are not normal full-loot zones. A player defeated through standard non-lethal combat is knocked down, suffers durability loss, and keeps their equipment.
Yellow Zones are useful for practicing:
- Watching nearby player names
- Keeping your mount within reach
- Recognizing hostile behavior
- Managing defensive abilities
- Choosing when to fight or retreat
However, surviving a Yellow Zone encounter does not fully prepare you for organized ganking groups in lethal areas.
Are Red Zones Full-Loot?
Yes. Red Zones use full-loot PvP rules. If a hostile player kills you, your equipped and carried items can be lost.
Players generally need to flag as hostile before attacking unflagged players in a Red Zone. The zone interface also provides a hostile-player count, which can help you estimate immediate danger.
The counter should be treated as a warning tool, not a guarantee of safety. It does not explain where the hostile players are, whether they are traveling together, or whether other combat systems may create additional threats.
How Are Black Zones Different?
Black Zones, commonly called the Outlands, use full-loot PvP without the Royal Continent’s hostile-flagging requirement. Potential enemies do not need to appear as flagged hostile players before attacking you.
Black Zones also do not provide the same simple hostile-player counter available in Red Zones. You must rely more heavily on observation, route knowledge, guild activity, and player behavior.
The Black Zone is generally more dangerous, but it also contains stronger opportunities for gathering, fame farming, PvP, guild activity, and open-world progression.
How to Prepare Before Entering a Full-Loot Zone
Most lethal-zone deaths begin with a mistake made before the player enters the zone. Preparation determines how much you risk, how quickly you can react, and whether your build has a realistic escape plan.
1. Set a Maximum Loss Budget
Add together the estimated value of:
- Your weapon and off-hand
- Helmet, armor, and shoes
- Cape and bag
- Mount
- Food and potions
- Tools and gathering equipment
This is your approximate starting risk before you collect any loot.
Choose a set you can lose without affecting the silver needed for future activities. Many beginners use inexpensive enchanted equipment instead of bringing their highest available tier.
2. Bank Everything You Do Not Need
Empty your inventory before beginning the trip. Remove expensive items, extra equipment, unnecessary resources, duplicate consumables, and anything unrelated to the planned activity.
Carrying an item simply because it was already in your bag is an avoidable risk.
3. Choose Mobility Over Maximum Damage
A lethal-zone build needs more than combat damage. It should also provide a way to create distance, break enemy pressure, or reach your mount.
Useful build characteristics include:
- A reliable movement ability
- A boot skill suitable for disengaging
- Defensive or cleansing utility
- Enough sustain for the planned PvE activity
- Reasonable replacement cost
Do not copy a high-damage build without checking whether it has any escape tools.
4. Select a Practical Mount
Your mount should fit your budget and activity. Consider its movement speed, durability, carrying capacity, and replacement cost.
Avoid depending completely on a mount’s carrying-capacity bonus. If you become overloaded after being dismounted, your ability to escape can disappear immediately.
For a beginner trip, an affordable mount that you can replace is usually more sensible than an expensive mount that consumes several sessions of profit when lost.
5. Bring Purposeful Consumables
Food and potions should support your actual plan. Depending on your build, you may need:
- Food that improves damage, cooldowns, or sustain
- A healing potion for emergency recovery
- A resistance potion for surviving concentrated damage
- An invisibility potion for certain disengagement situations
Avoid carrying large stacks. Bring enough for the expected session and leave the remainder in the bank.
Optional progression consideration: Players comparing ways to begin with established specialization can review the server, character progress, included equipment, and ownership information of an albion online account for sale. Existing progression may reduce early training time, but it does not replace route knowledge, PvP awareness, or escape practice.
How to Identify Possible Gankers
Gankers usually attempt to control your movement before committing to an attack. Recognizing the setup early is more valuable than reacting after several players have already surrounded you.
Watch for Mounted Scouts
A player who follows you without gathering, fighting mobs, or continuing toward an obvious destination may be scouting for a nearby group.
Change direction and observe whether the player continues following. Do not lead an unknown scout directly toward your planned dungeon, gathering route, or exit.
Be Careful Around Chokepoints
Common ambush locations include:
- Zone exits
- Bridges and narrow paths
- Road intersections
- Dungeon entrances
- Resource hotspots
- Routes near cities and portal areas
Approach a chokepoint from an angle that gives you enough time to see dismounted players before entering their ability range.
Pay Attention to Guild and Alliance Names
Several players with matching guild or alliance tags are likely coordinating. One player may attempt to make you change direction while the remaining group waits along the escape route.
Do not assume a mounted player is harmless simply because they have not attacked yet.
Recognize Dismounted Players
A dismounted player standing near a road or exit may be preparing to attack passing travelers. Turn away early instead of moving closer to inspect them.
Distance is one of your strongest defensive resources.
Map Awareness and Route Planning
Check Every Exit Before Starting an Activity
When entering a new zone, identify:
- The nearest exit
- A secondary exit
- Nearby roads and narrow paths
- Possible dead ends
- Areas with heavy player traffic
Do this before dismounting to gather, fight mobs, or enter a dungeon.
Avoid Predictable Direct Routes
The shortest route is often the most watched route. Traveling directly between a city, portal, popular farming location, and zone exit makes your movement easier to predict.
Consider using a wider path when the main road appears active. The extra travel time may be worthwhile if it lowers your chance of encountering a coordinated group.
Use Red Zone Information Carefully
Check the hostile-player count when entering and before leaving a Red Zone. A sudden increase may indicate that a group has recently entered or flagged.
If the count rises while you are carrying valuable loot, consider moving toward safety rather than completing one more activity.
Use Portal-Area Protection Wisely
Black Zone portal areas can provide protective travel mechanics such as temporary invisibility from a shrine. Read the active buff and use the protected movement period to create distance from the busiest portal routes.
Do not stop near a portal exit to organize your inventory or inspect equipment. Prepare everything before entering the lethal area.
How to Escape Gankers in Albion Online
Your objective is not always to defeat the attackers. When carrying loot or using a PvE build, surviving and reaching an exit is usually the better result.
Stay Near Your Mount
When gathering or fighting open-world mobs, remain inside or close to your mount’s active radius. Moving too far away can prevent you from mounting quickly.
Before beginning a fight, position the mount so that your escape route does not force you to run through the enemy pack.
Do Not Waste Your Sprint
Using your movement skill to travel slightly faster can leave it unavailable when another player appears. Keep important escape abilities ready in active areas.
If a chase begins, avoid activating every defensive tool at the same time. Stagger abilities so you can respond to slows, roots, purges, and additional attackers.
Do Not Attack Unless You Intend to Fight
Using an offensive ability may place you under combat restrictions and interfere with your ability to leave through an exit immediately.
If your objective is escape, focus on distance, defensive skills, movement, and positioning instead of dealing minor damage.
Change Direction Before You Are Surrounded
Do not continue toward an obvious exit when another player is trying to guide you in that direction. Their teammates may already be waiting there.
Turn toward open terrain or a different exit before the group closes all available paths.
Use Terrain to Break Pursuit
Rocks, trees, corners, elevation changes, and narrow passages can interfere with enemy targeting and movement. Use terrain to force pursuers to take a longer path.
However, avoid entering a dead end. Terrain is useful only when you know where the path leads.
Avoid Pulling Additional Mobs
Open-world enemies can damage, slow, or place you in combat while you are escaping. Do not run blindly through large mob groups unless the alternative is certain capture.
When Should You Bank Your Loot?
Successful lethal-zone farming is not measured by how long you remain outside. It is measured by how much value reaches the bank.
Consider returning when:
- Your inventory value exceeds the cost of your equipment set
- Your consumables are running low
- Your carrying capacity is affecting movement
- The Red Zone hostile count increases
- You repeatedly see the same players scouting the area
- Your available escape abilities or equipment condition are compromised
Greed causes many avoidable deaths. Banking smaller amounts consistently often produces more profit than attempting one long, high-risk trip.
Should Beginners Travel Alone or in a Group?
Traveling with a group can discourage individual attackers and provide additional defensive abilities. However, a group is also more visible and may attract larger opponents.
Beginners traveling with others should agree on:
- The route
- The group leader
- The destination
- When to fight
- When to retreat
- Where to regroup if separated
A disorganized group that moves in several directions may be easier to catch than a careful solo player.
Common Full-Loot PvP Mistakes
- Wearing the most expensive available gear: High Item Power does not guarantee survival against a coordinated group.
- Carrying unnecessary items: Everything unrelated to the activity should remain in the bank.
- Using an overloaded transport setup: Losing the mount can make movement nearly impossible.
- Ignoring matching guild tags: A single scout may be connected to several nearby attackers.
- Spending movement abilities carelessly: A sprint on cooldown cannot help during an ambush.
- Fighting while trying to escape: Offensive actions can keep you committed to an unfavorable encounter.
- Taking the same route repeatedly: Predictable movement makes you easier to scout.
- Staying for one more activity: Additional loot has no value if it never reaches the bank.
Albion Online Full-Loot PvP FAQ
What happens when you die in an Albion Online full-loot zone?
Your equipped gear and carried inventory can drop when another player kills you. You keep your character, silver balance, Destiny Board progression, specialization, and other permanent account progress.
Are Red Zones full-loot in Albion Online?
Yes. Red Zones use full-loot PvP rules. Hostile players generally need to flag before attacking unflagged players, and the interface displays the number of flagged hostile players in the zone.
Do you lose equipment when you die in a Yellow Zone?
Standard Yellow Zone PvP is non-lethal. You are normally knocked down and suffer durability loss, but you keep your equipped and carried items.
Are Black Zones more dangerous than Red Zones?
Black Zones are generally more dangerous because full-loot PvP is continuously active, hostile flagging is not required, and there is no equivalent Red Zone hostile-player counter.
What gear should a beginner use in a full-loot zone?
Use an affordable set that meets the needs of your planned activity and includes mobility or defensive utility. Do not enter with equipment that would be difficult to replace.
What is the best mount for a beginner in a lethal zone?
Choose an affordable mount with suitable speed, durability, and carrying capacity. Avoid relying on so much mount-based carrying capacity that you become heavily overloaded when dismounted.
Can beginners enter Black Zones alone?
Yes, but beginners should use inexpensive equipment, avoid busy routes, identify exits before dismounting, and return to safety frequently. The first trips should focus on learning rather than maximizing profit.
How can I avoid gankers in Albion Online?
Watch for scouts, dismounted players, matching guild tags, and activity near chokepoints. Keep your mount close, preserve movement abilities, use alternative routes, and leave before attackers can surround you.
Conclusion
Surviving Albion Online full-loot PvP zones is primarily about controlling risk. You cannot prevent every ambush, but you can control the value of your equipment, the route you take, the amount of loot you carry, and how quickly you react to suspicious players.
Begin in Yellow Zones to practice awareness, then use affordable sets for your first Red Zone trips. Enter Black Zones only after you understand how to keep your mount nearby, identify scouts, preserve escape abilities, and choose alternative exits.
Most importantly, treat every equipment set as replaceable. A successful lethal-zone player is not someone who never dies. It is someone whose successful trips consistently earn more than their unavoidable losses.